Bring the drawing. We plan the machining around your functional diameters, bores, threads and surface requirements, then agree the sample checks before repeat production.
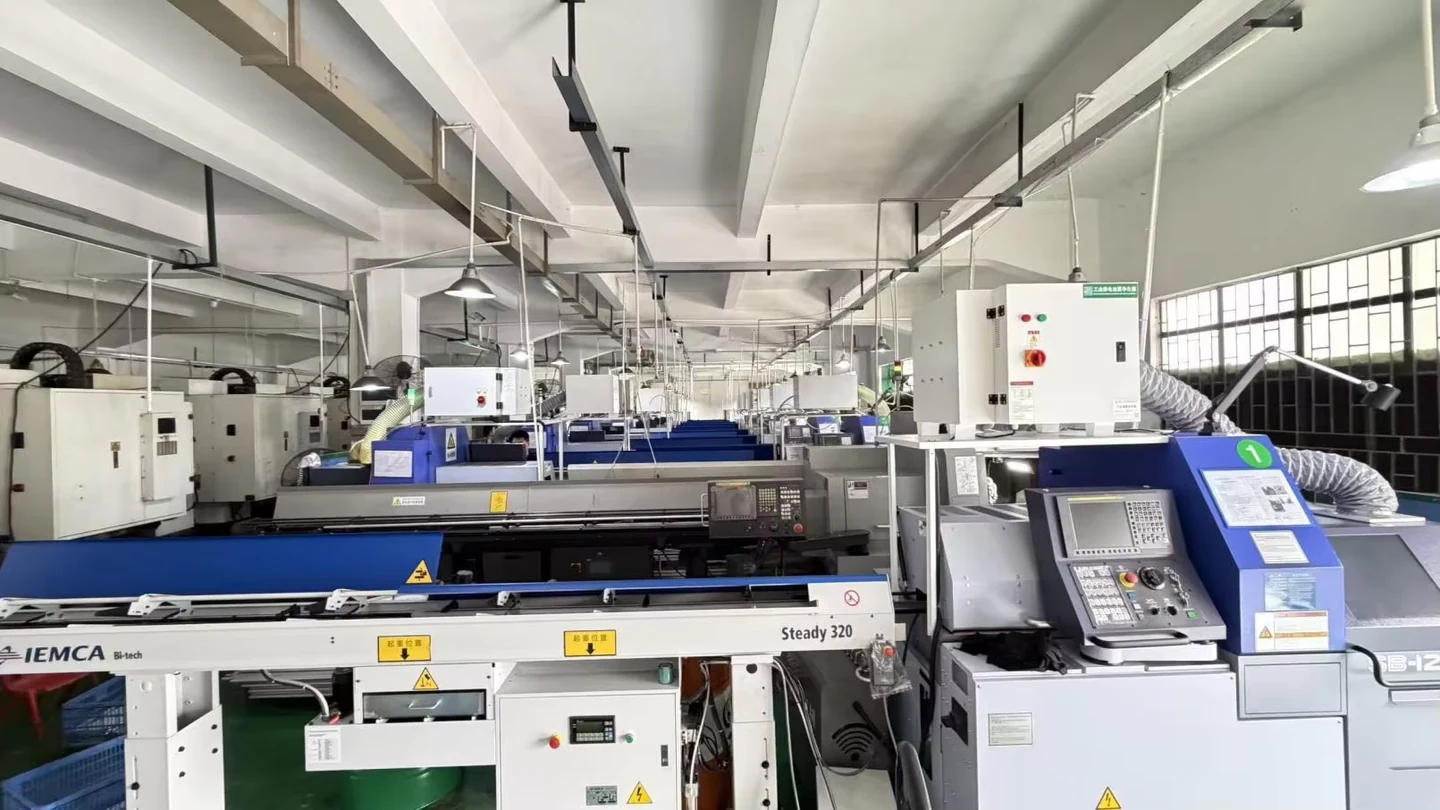
Chengshuo workshop imagery · explore the company process films
Company photograph · supplier assessment
YOUR DRAWING / THE BUYING DECISION
Is Swiss turning the right route for your part?
Start with the functional interfaces. Compare photographed Chengshuo reference parts, then send the drawing, material and quantities for a process review.
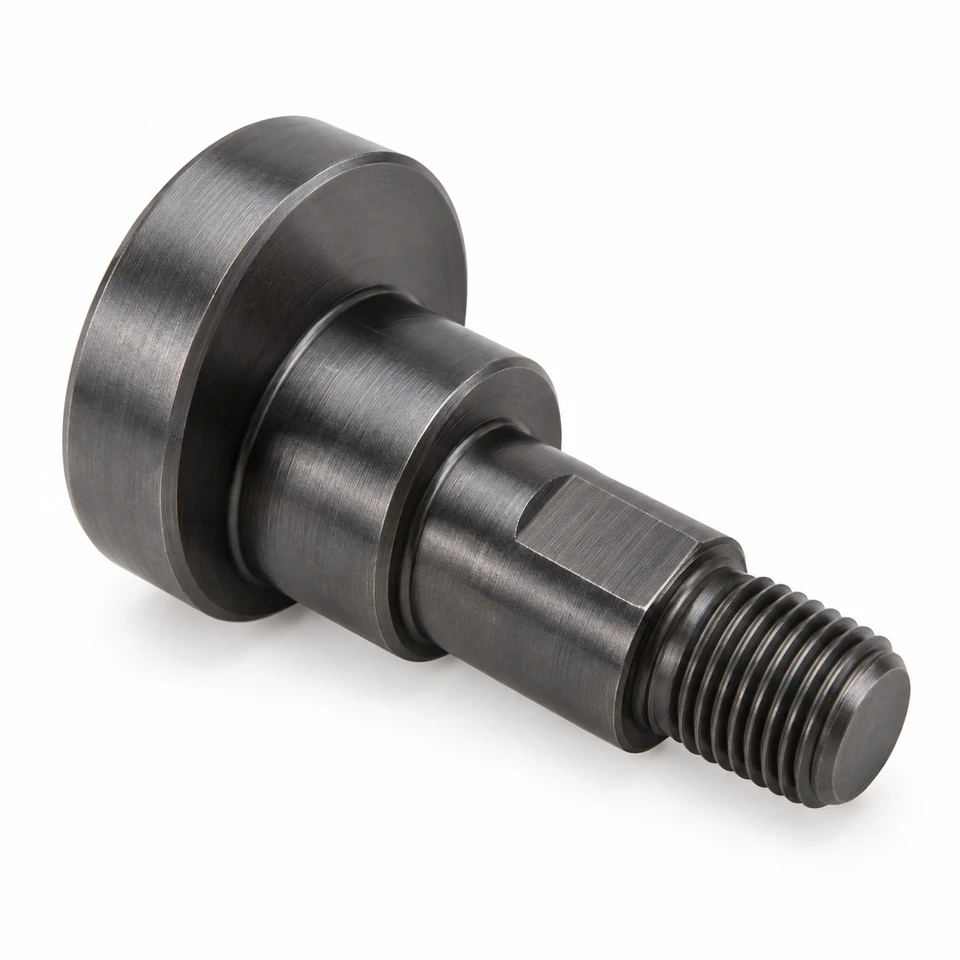
The shaft and sleeve cases identify CNC machining; the slotted valve case identifies turning and milling. Use them to explain geometry. Swiss-turning suitability, finishing and inspection scope are reviewed for your own drawing.
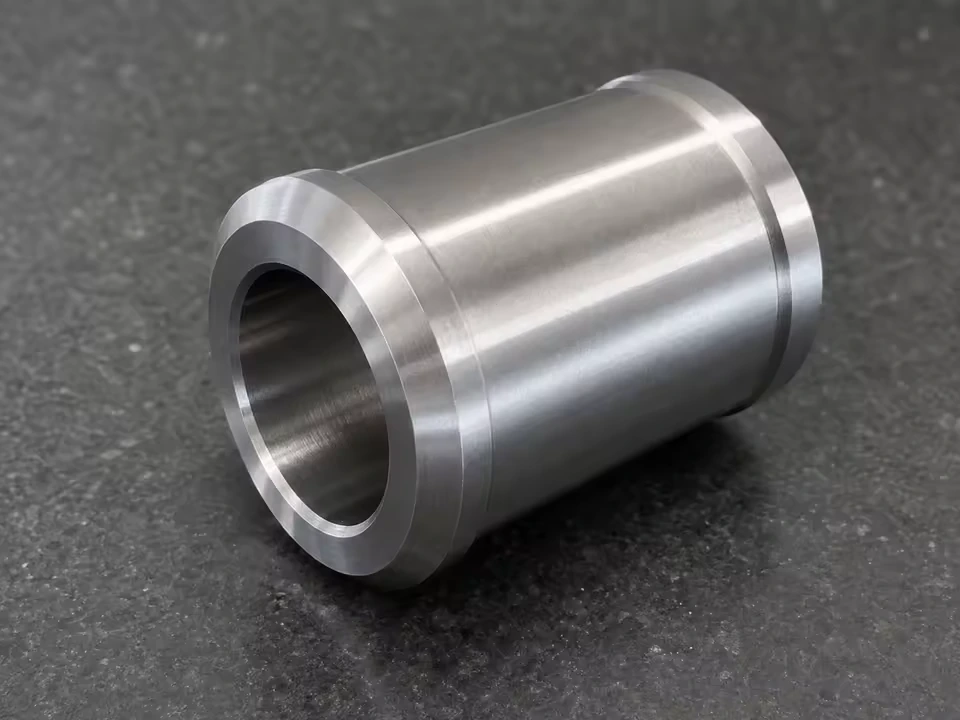
A stainless steel guide pillar with a long cylindrical body and stepped end features. Define the guide diameter, shoulder position and thread engagement for your drawing.
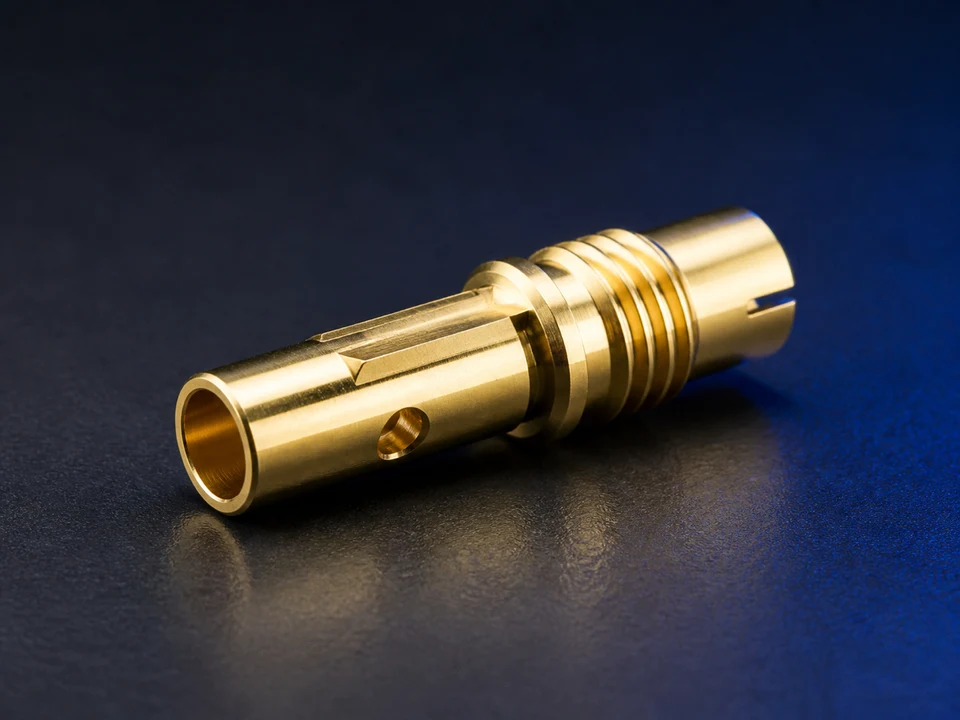
Brass pillar and contact forms with several diameter steps. Share the mating dimensions, engagement length and electrical requirements for your own component.
Geometry references from the Chengshuo portfolio. Each card identifies its published process; the manufacturing route for your own drawing is reviewed individually.
“Stainless steel” alone is not a complete material specification. Describe the required grade, documentation and exposure conditions so the manufacturing review starts from the same assumptions.
Grade and material documentation
Required edge condition and cleaning
Functional surfaces and inspection scope
Corrosion performance depends on grade, finish and environment. Discuss application requirements rather than relying on appearance.
Make the alloy and the thread requirements explicit.
For connectors, sleeves and turned details, specify the brass alloy alongside the thread, sealing and finish requirements. Distinguish the visible shape from its functional acceptance criteria.
Exact alloy designation
Thread class, gauging and engagement
Coating, cleaning and sealing interfaces
State any material-composition or regulatory requirement in your enquiry; do not infer it from a generic brass description.
If a copper part has an electrical or thermal role, identify the relevant alloy and the surfaces that matter. Include any required coating or contact condition in the drawing package.
Copper grade or alloy
Contact and mounting surfaces
Coating and handling requirements
Electrical or thermal performance needs application-specific definition and verification.
Separate material condition from finished geometry.
Specify grade and material condition, then state any heat treatment and finishing requirement. The sequence of operations should be reviewed together with the dimensions that control assembly.
Grade and material condition
Heat treatment if required
Final inspection state and finish
Do not assume a heat treatment or hardness from a photograph. Include it as an explicit requirement.
A polymer name, grade and environment help define how a plastic component should be reviewed. Include fit, wall features and any temperature or media exposure relevant to the application.
Polymer and grade
Fit and operating environment
Surface, edge and visual acceptance
Polymer families are not interchangeable. The exact material and part requirements need project review.
Define surface roughness where function requires it; specify burr removal and edge breaks.
Anodizing
Aluminum appearance and surface treatment
State type, color/reference sample, masking and which dimensions apply after treatment.
Passivation
Specified stainless-steel surface treatment
State the applicable process requirement, cleanliness and required documentation.
Plating
A specified deposited coating
Define coating system, thickness, substrate, masking and final functional dimensions.
Blasting / brushing / polishing
Specified texture or visual surface
Identify treated faces, direction or appearance standard, and features that must be protected.
Planning options, not a blanket process or performance commitment. Availability and the treatment route are confirmed for each drawing and material.
QUALITY & ACCEPTANCE
Make the important dimensions explicit.
Capability cannot be established from a generic tolerance headline. Share the geometry, material, specified limits and inspection method for your actual component.
Explain the mating part and the dimensions that control assembly.
02
Agree the inspection scope
Define measurement methods, sample plan and any records required.
03
Review before repeat production
Confirm the approved revision and review changes before a new run.
Before you send the drawing.
What files should I send?
A dimensioned drawing with revision, material and finish is the starting point. A STEP model can help communicate geometry. Include quantities and the critical acceptance requirements.
Can you confirm a tolerance from a photograph?
No. A photo illustrates the part form. Feasibility must be reviewed against the actual geometry, material, dimension, tolerance and inspection method.
Can I start with samples?
Include the requested sample quantity and the checks needed for approval. Sample scope and the intended production order are reviewed together.
How are price and lead time confirmed?
The quotation confirms the reviewed scope, material, quantity, inspection requirements, price and schedule. Website examples do not constitute an offer or an accepted production order.
Use an example to explain your idea. Your own drawing defines the final specification.
FROM PROCESS TO REQUIREMENTS
Check the process. Agree the next step.
See the workshop context, compare relevant component geometries and define how your samples will be checked.
Send the current drawing with quantities and critical requirements. The review is the starting point for agreeing scope, quotation and sample approval.