Skip to content
CHENGSHUOPRECISION
EN
Request a drawing review

Fluid control & equipment / APPLICATION STUDY

Make internal burrs and cleanliness part of the drawing review

Turn a general deburring note into named internal features, inspection access and agreed cleanliness evidence for small bored components.

EngineeringQuality
Illustrative Fluid control & equipment component application
Application illustration · component references below

01 / THE CUSTOMER PROBLEM

Where projects
can get stuck.

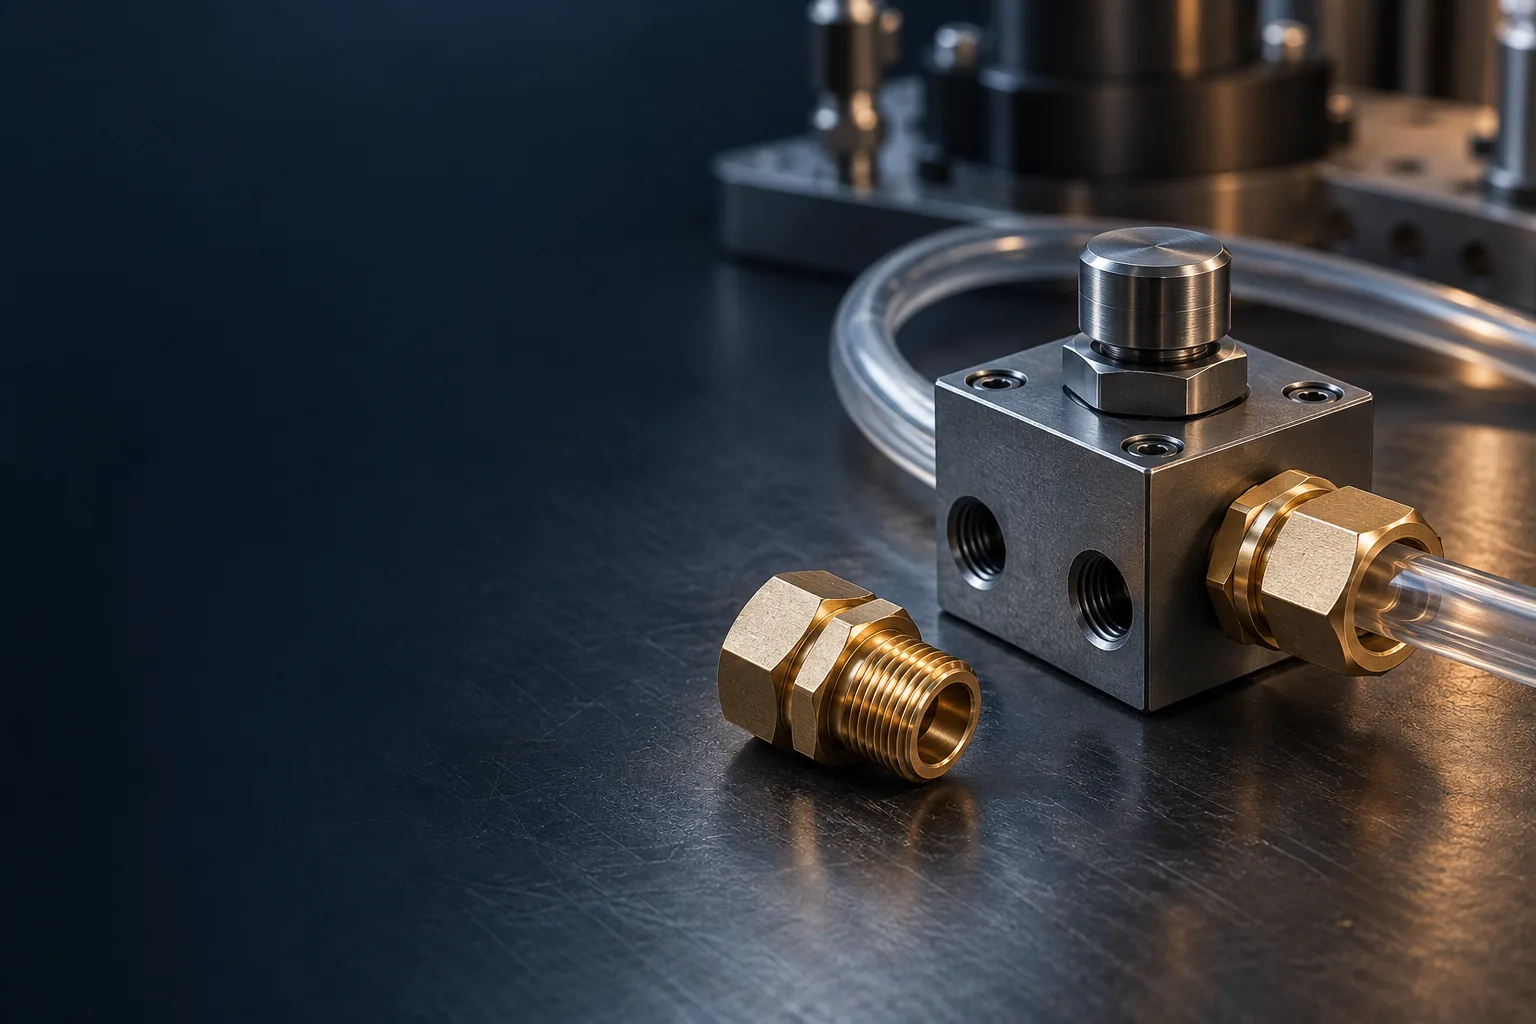
An external photograph can show a transverse opening without showing its intersection with an internal bore. A general instruction to remove burrs may therefore leave the hardest feature undefined. For small equipment or fluid-path components, separate edge condition, loose contamination and functional testing. Each asks a different acceptance question. The useful starting point is a marked internal feature map and an agreed way to verify the specified condition, rather than a promise that the part is clean.

Questions to resolve early

  • An operator can inspect the opening, but the acceptance requirement actually concerns the hidden bore intersection.
  • Additional edge removal changes a required land, opening or sealing feature without design approval.
  • Parts pass a cleaning step but later handling, inspection or packaging is absent from the agreed delivery scope.

02 / A PRACTICAL REVIEW ROUTE

Work through the
requirement, step by step.

01Locate the hidden intersections

Provide section views for cross-holes, bore ends, recesses and any other region that cannot be judged externally. Mark the boundaries of the required edge condition, including edges that must retain their designed geometry. Ask the supplier to review tool access, removal access and inspection access as separate questions before confirming the route.

02Make the acceptance language observable

Replace ambiguous terms with the customer specification or an agreed, reviewable criterion. Define permitted edge changes and prohibited damage to adjacent surfaces. Where direct visual access is limited, agree the method and coverage needed to assess that feature. Reference images can clarify appearance, but should not silently replace a dimensional or cleanliness requirement.

03Define cleaning and protection as a scope

Identify required cleanliness criteria, relevant process restrictions, verification evidence and the condition at delivery. Confirm whether inspection or handling occurs after cleaning, and how accepted parts remain protected. If a test requires special equipment or external support, establish responsibility and feasibility before treating it as included. Do not adopt a universal cleanliness grade without an application requirement.

03 / BEFORE ACCEPTANCE

Agree what
the evidence should show.

A general promise of precision is not a project acceptance plan. Confirm the checks and records that apply to your component.

  • Record the agreed verification of hidden features; an external photograph alone should not close an internal requirement.
  • Confirm that edge treatment has preserved adjacent drawing requirements and any surfaces explicitly protected from alteration.
  • Link required cleanliness evidence to the delivered lot and its agreed packaging or preservation condition.

04 / REAL COMPONENT REFERENCES

Connect the topic
to the geometry.

Published photos show external openings on the referenced coupling and valve joint. They do not reveal all internal geometry or prove deburring, cleanliness or fluid-service performance. The internal-feature scenarios here are review prompts for the buyer’s own drawing.

05 / YOUR PROJECT CHECKLIST

Prepare the details
that move the review forward.

Tick off the information you have, then use this checklist to prepare your enquiry.

Project information to prepare
Use this brief in my enquiry

PROJECT QUESTIONS

Before you send
the next revision.

Does deburring also prove cleanliness?

No. Define the required edge condition and contamination criteria separately. A component may need both, and the relevant evidence depends on your specification. Avoid using a single checklist tick to stand for two different acceptance decisions.

Can you promise inspection of every internal surface?

The actual geometry and available method must be reviewed first. Ask for a feature-specific plan that states access limits, coverage and any verification still required. If a requirement cannot be demonstrated, leave it open rather than infer acceptance.

Evidence and scope of this study

Published photos show external openings on the referenced coupling and valve joint. They do not reveal all internal geometry or prove deburring, cleanliness or fluid-service performance. The internal-feature scenarios here are review prompts for the buyer’s own drawing.

The proposed application is a review scenario. Final feasibility, performance, inspection scope, price and delivery conditions require confirmation against your current drawing.

TURN THE STUDY INTO YOUR OWN BRIEF

Does this sound
like your component?

Your enquiry will include this review topic and the relevant product references. Edit the brief to fit your drawing.

Discuss this requirementDownload review checklist

CONTINUE THE REVIEW

Related project questions.

Automation & motion / APPLICATION STUDY

Shaft fit & assembly alignment

Connect shaft diameters, shoulders and grooves to the mating assembly, then define the datum setup and acceptance checks before quoting.

EngineeringQuality

Start the review with

  1. Map the mating interfaces

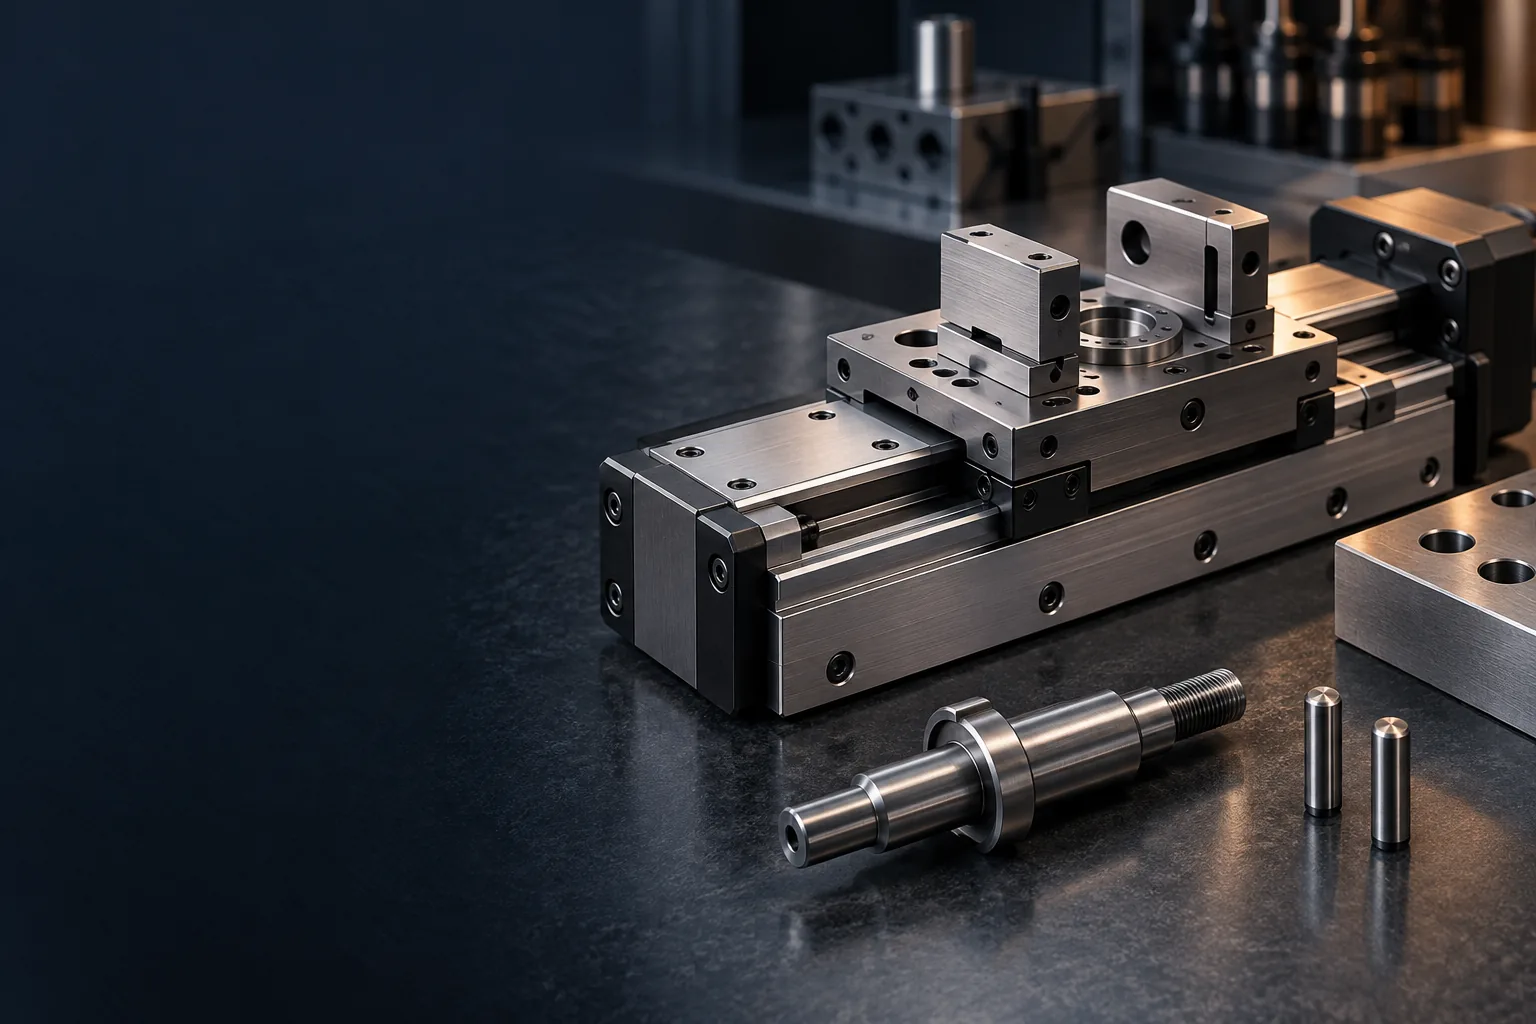
    Mark the bearing or sleeve contact, locating shoulder, retained end and any clearance-only regions on an annotated view. Include the relevant mating-part requirements, not necessarily the entire assembly model. Identify whether a groove locates another component or merely provides clearance. This makes it possible to discuss each feature against its actual job.

  2. Resolve the drawing references

    Identify the applicable drawing standard and revision, then confirm datum features, their order and the geometric controls required by the design. Ask how the same references will be established during inspection. Record questions about incomplete or conflicting callouts instead of translating an informal request for concentricity into a different requirement without approval.

  3. Review the complete manufacturing condition

    Ask the supplier to review support, access to shoulders, secondary features and the state in which final checks occur. A Swiss-type route may be a candidate for a slender turned part; the drawing, material and actual equipment configuration determine suitability. If heat treatment or coating is specified, identify which requirements apply after that operation.

The linked Chengshuo shaft and pin are published geometry references. They do not establish a completed motion-system application, measured alignment result or verified process capability. This guide is a project-review framework, not a customer case report.

Automation & motion / APPLICATION STUDY

Sleeve fit & thin-wall interfaces

Separate bore, outside diameter and installation conditions so a sleeve can be reviewed against the way it will actually be assembled and measured.

EngineeringQuality

Start the review with

  1. Separate the functional surfaces

    Mark the bore, outside locating surface, flange seat and clearance regions. Supply the relevant housing and shaft requirements where they influence acceptance. Identify whether the sleeve is a spacer, guide or another type of component in your assembly; that function is a customer input, not something established by the example product name.

  2. Define the measurement condition

    State whether sizes and geometric requirements apply to the free part, a specified restrained condition or the installed assembly. Agree how the part will be held without obscuring the characteristic being checked. Where suppliers and incoming inspection use different methods, compare those methods before approving a sample report.

  3. Review edges, finishing and protection

    Identify insertion edges, transitions and any surface that must remain free of handling marks. Confirm finishing specifications, permitted edge breaks and the point at which final dimensions are accepted. Discuss the proposed machining and measurement approach for the actual wall geometry. Agree protective packaging where contact between parts could affect a specified surface.

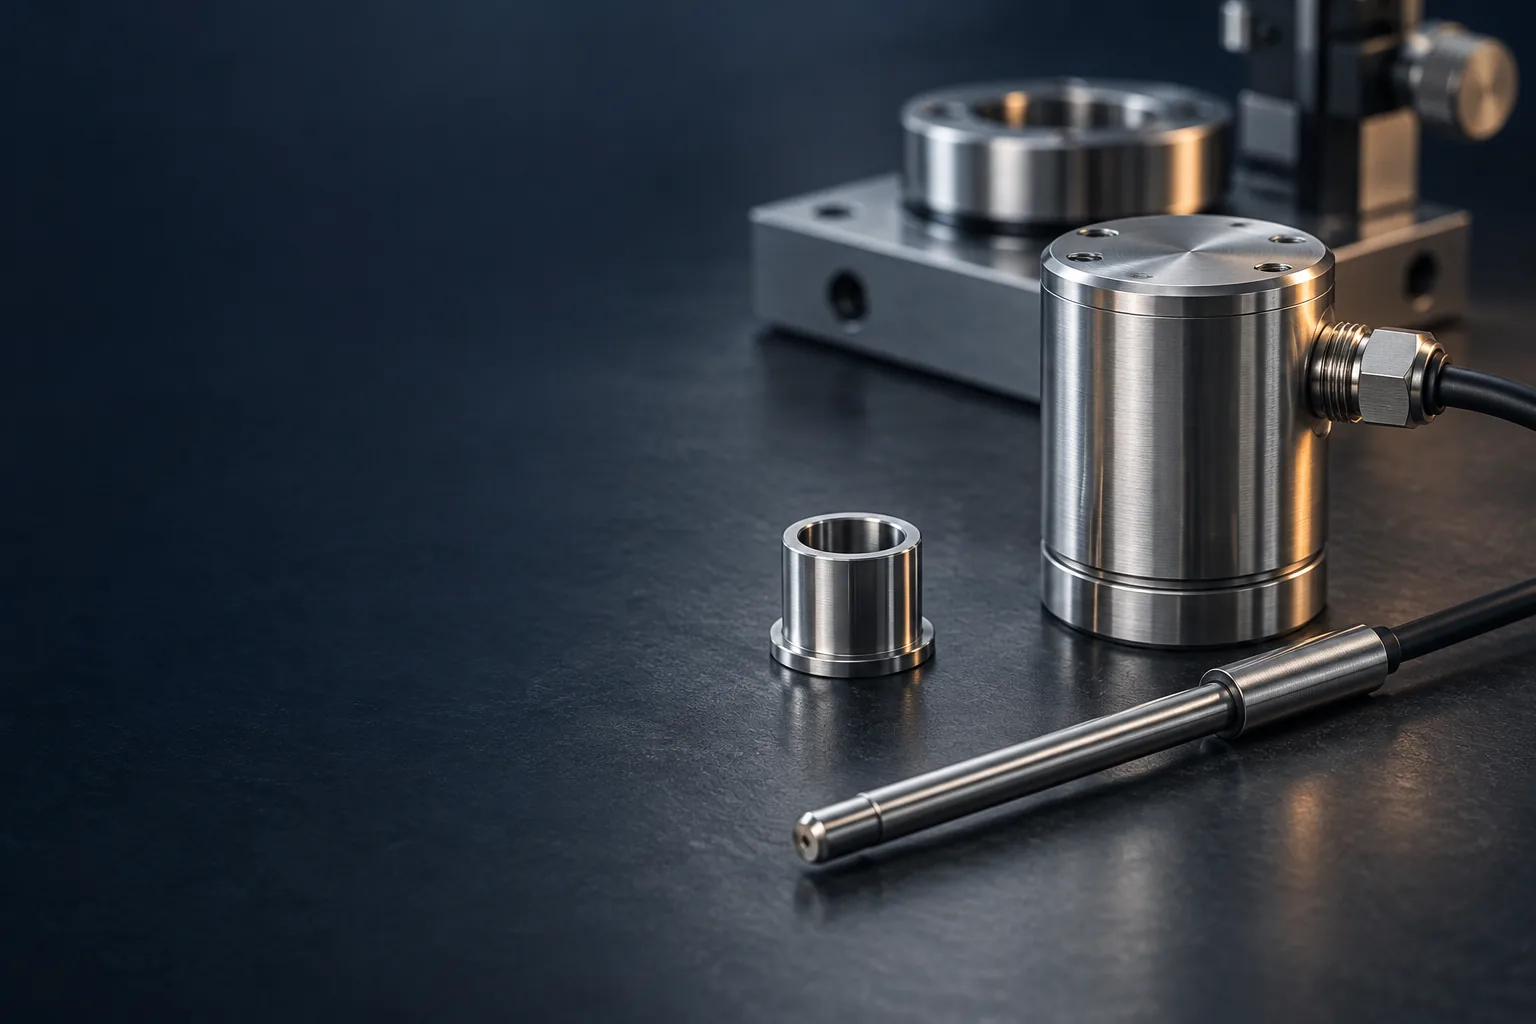
The brass sleeve and aluminum washer links document published component forms. The washer is an annular geometry reference, not evidence of a sleeve application. Installation behavior, thin-wall limits and measurement results require project-specific review.

Sensors & instrumentation / APPLICATION STUDY

Small pins in precision instruments

Clarify locating features, insertion edges and material or finish requirements without assuming a photographed pin has a proven sensing or electrical function.


EngineeringPurchasing

Start the review with

  1. Identify the insertion and locating features

    Annotate the pin end, lead-in, locating diameter, shoulder and retained region. Describe how the mating component is assembled and which edges it contacts. If position or insertion depth is important, identify the surfaces that control it. Avoid leaving the supplier to infer a fit, retention method or allowable edge condition from the model alone.

  2. Specify material and finish by requirement

    Give the material grade, standard and condition rather than just brass or stainless steel. Where plating, passivation or another finish is needed, identify the specification, treated areas and final acceptance state. If conductivity, magnetic response or corrosion behavior matters, supply the actual requirement and agreed verification route instead of using appearance as evidence.

  3. Plan handling and sample evaluation

    Discuss how small features will be inspected and protected through finishing, packing and assembly. Mark any region where a burr or handling mark would interfere with insertion. Define a sample evaluation that records both drawing results and the relevant customer assembly observation. Assign responsibility for tests that require the complete instrument or mating components.

Sensor and instrumentation use is a candidate application context, not a documented Chengshuo customer outcome. The referenced pin and shaft establish published geometry only; material grades, coatings, performance and customer approvals are not established by those examples.

From drawing to project review.

Read the film transcript

Start with your drawing. Define material and finish. Identify critical features. Align samples and production quantities. Request a project review. Illustrative renders and Chengshuo component photography; this is a project overview, not machining footage.

Discuss your drawing

CHENGSHUO / PROCESS FILMS

Process film

Silent process film. Workshop footage is process context; it is not a record for the reference component.

View original